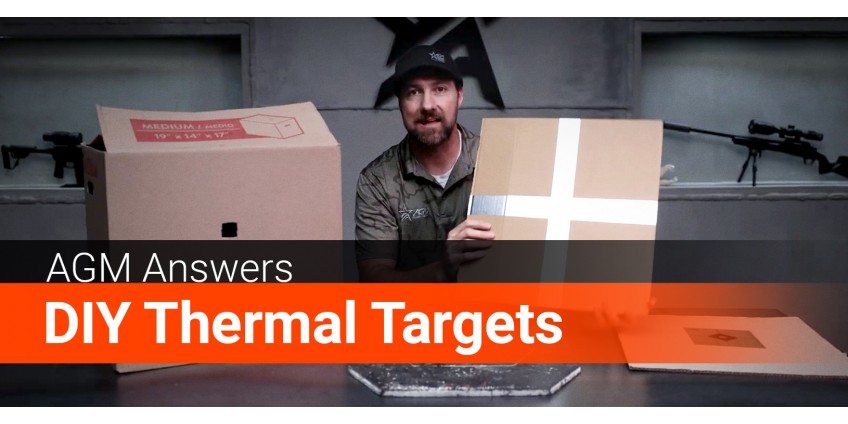
What You Need To Know Before Zeroing Your Thermal Scope
Thermal scopes and binoculars don’t rely on visible light like traditional optics. Instead, they detect long-wave infrared (LWIR) radiation—better known as heat signatures—that radiate from objects, animals, and even bullet impacts. This makes them extremely effective for night hunting, tactical use, and shooting in low-light conditions.
Because thermal devices read differences in temperature rather than visible contrast, standard paper targets won’t cut it. A bullseye works fine for a daytime optic, but with thermals, you need a surface that absorbs, reflects, or generates heat so that bullet impacts stand out clearly. The easier it is to see your hits, the faster you can make precise adjustments to your optic. This is especially important for DIY thermal scope zeroing sessions where you don’t want to waste ammo or time.
Below are some of the best DIY thermal targets (plus a few professional options) that shooters are using today for practice, zeroing, and training.
1. Self-Healing Polymer Targets (Infinity Defense)
A favorite among thermal shooters is the Infinity Defense self-healing target. Built from durable polymer, these targets temporarily retain the heat from a bullet’s impact. Each shot leaves a glowing mark that stays visible for 30 seconds to a full minute, giving you plenty of time to spot impacts and adjust your reticle.
- Requires the least amount of setup
- Durable and reusable
- Possible to add reflective tape or paint to create more contrast
- Works best in cooler temperatures
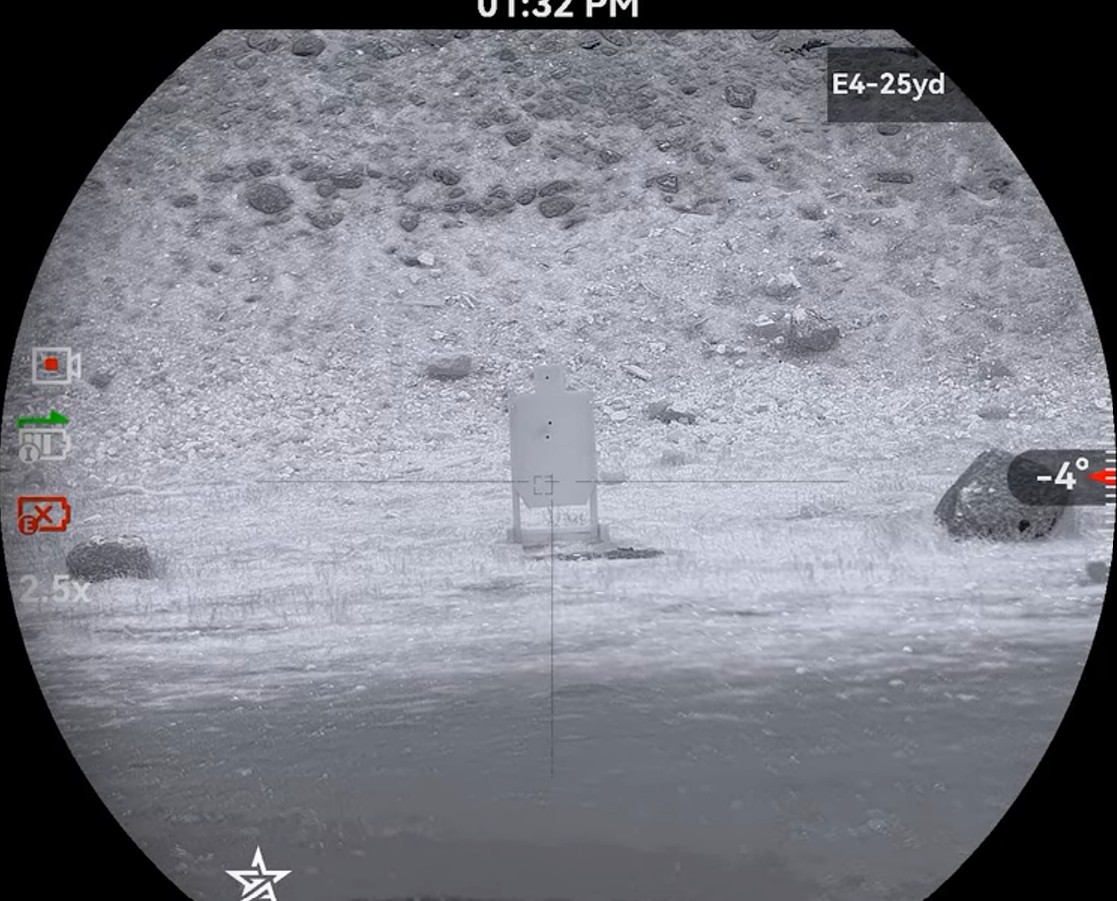
These also double as excellent training targets since they last much longer than cardboard or paper. We’ve used this exact style of target in our AGM zeroing tutorial videos (watch the tutorial), and it continues to be a reliable choice.
Shop the self-healing target here: Infinity Defense Targets.
2. HVAC Tape on a Target Backer
If you’re looking for a cost-effective homemade thermal target, HVAC reflective tape is an excellent option. Simply apply strips of metallic tape to a piece of cardboard or a target backer, tilt it toward the sun, and it lights up brilliantly through thermal optics. As you shoot, bullet holes break the reflective surface. These “cold spots” are easily visible against the bright reflective tape, letting you quickly confirm your point of impact.
- Extremely inexpensive
- Quick setup anywhere
- Best for daytime shooting with sun exposure
- Less effective in shaded or cloudy weather conditions
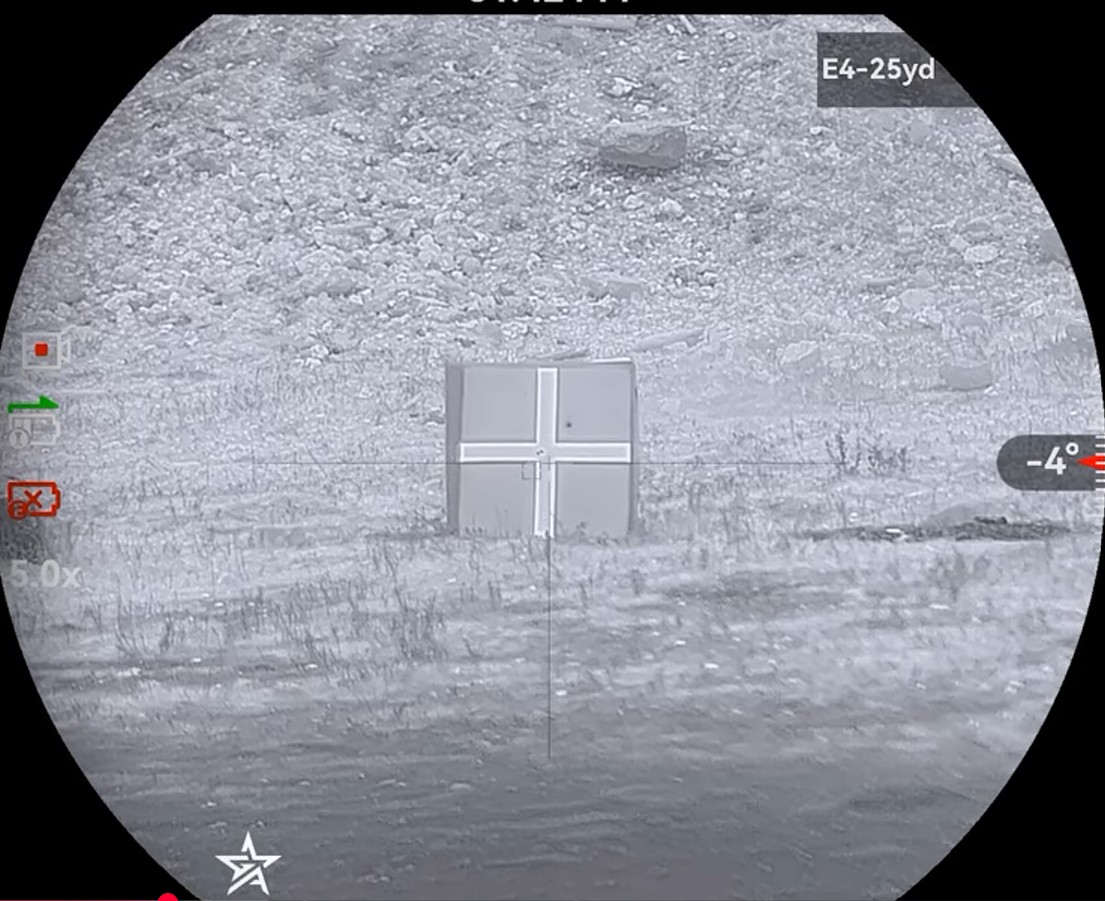
Pro Tip: Angle your taped backer toward direct sunlight for maximum thermal contrast. Using duct tape alongside HVAC tape can also create different heat-absorbing zones, giving you a simple but effective passive thermal target.
3. AGM Thermal Zeroing Targets
For shooters who want precision over experimentation, AGM has developed purpose-built thermal shooting targets. These combine reflective materials with carefully designed zeroing grids so you can not only see your hits but also measure your groups.
- Professionally designed for zeroing
- Clear impact recognition
- Easy group measurement
- Single-use (not reusable like polymer)
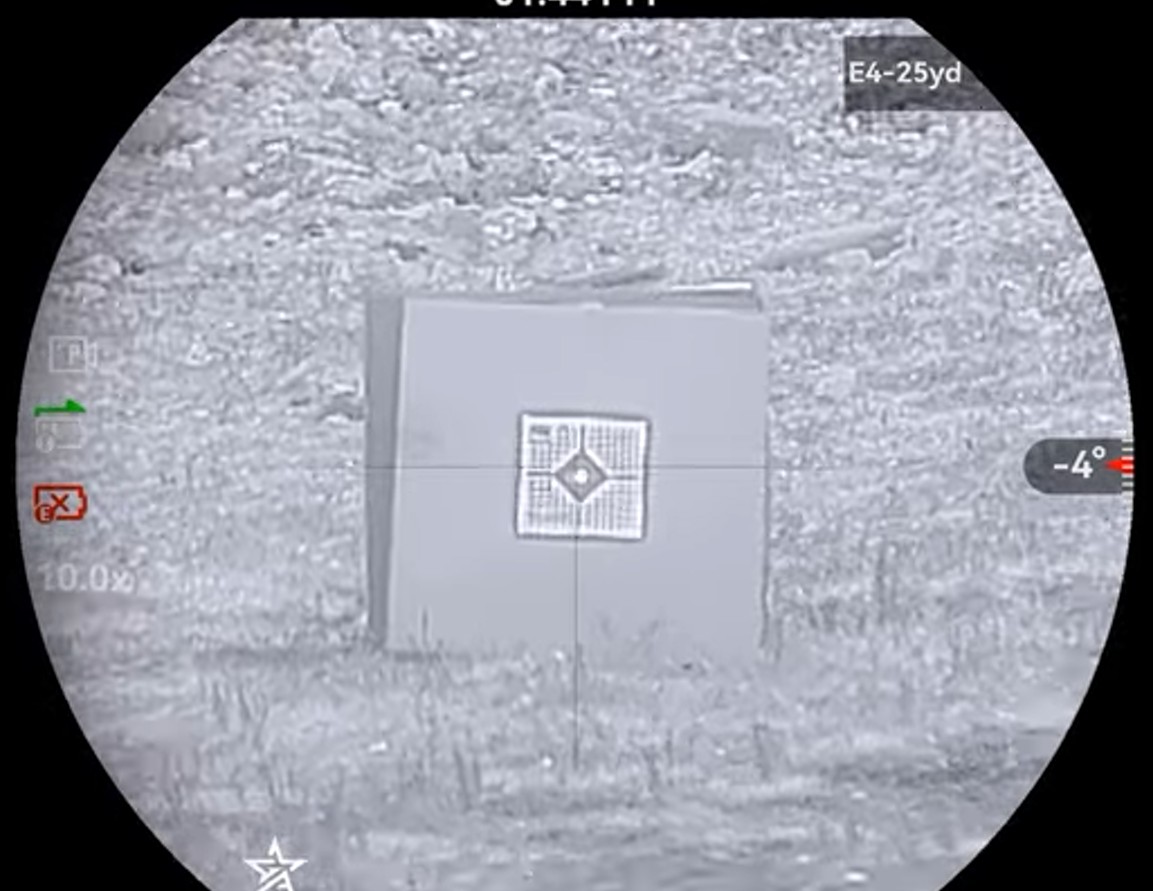
These are the best choice if you want consistency without relying on weather or improvised materials. (Available on the AGM Global Vision website.)
4. Hot Hands in a Box
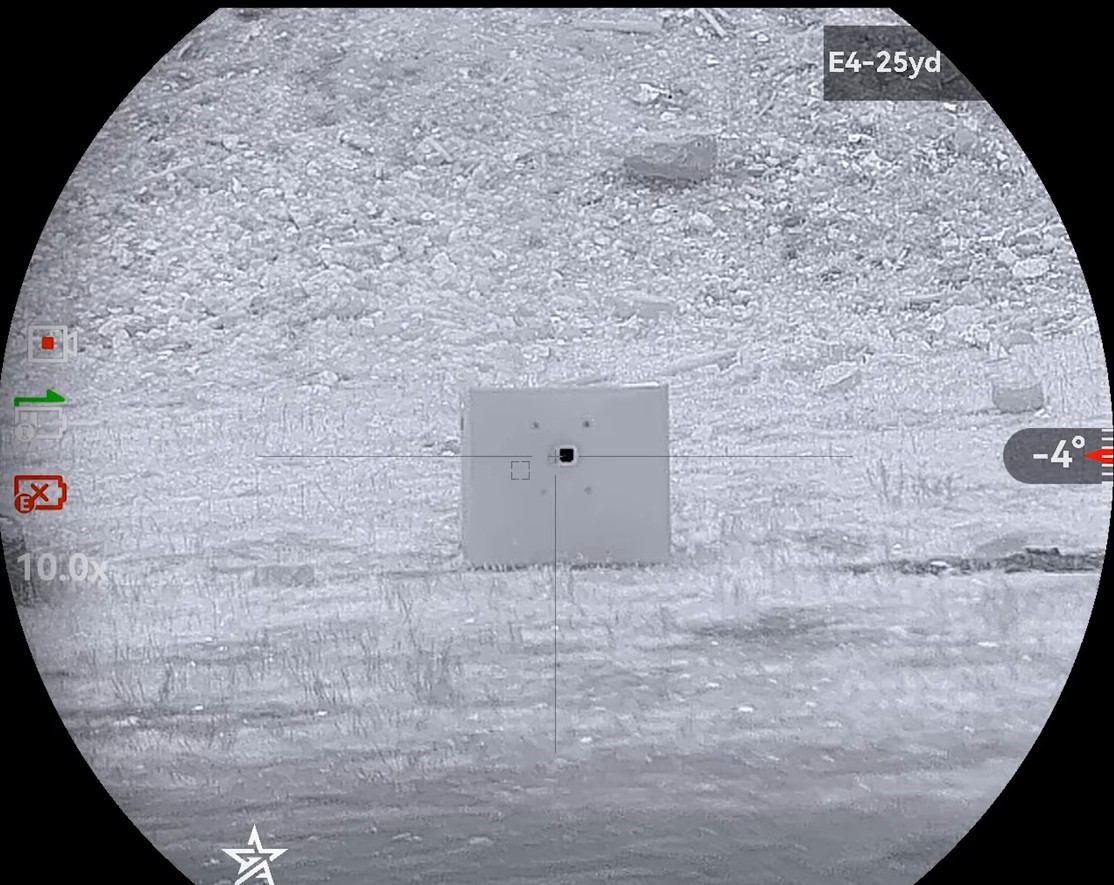
Another creative DIY thermal target uses disposable hand warmers. Many shooters tape them directly to cardboard, but this creates excess bloom (heat spreading outside the target). A better method:
- Cut a one-inch square hole on the front face of a cardboard box.
- Tape the hand warmers (Hot Hands, Grabbers, etc.) to the inside back panel—add a couple to the bottom for more heat if desired.
- Aim through the square so only a small, concentrated thermal signal is visible.
- Works best at night or in cooler weather conditions
- Provides a crisp aiming point without excess bloom
- Heat lasts longer when protected inside the box
- Less effective during hot, sunny daytime conditions
5. Other DIY Ideas That Work Surprisingly Well
Shooters have also experimented with creative homemade thermal targets:
- Frozen water bottles – create a cold target against warmer surroundings.
- Steel targets in the sun – absorb and retain heat, showing clear impacts.
- Painted metal sheets with aluminium foil (aluminum foil) – certain colors heat up faster, and foil patches provide sharp thermal contrast.
- Paper targets combined with duct tape or foil strips – transforms ordinary paper into a visible thermal grid.
Each of these provides either hot or cold contrast, which is exactly what thermal imaging requires. If you’re wondering how to make a thermal target, start with a simple backer, add something that creates temperature contrast (hot or cold), and test distance/angle until your impacts are clearly visible.
Final Thoughts
Whether you’re using professional zeroing targets, polymer training targets, or creative DIY thermal targets, the key is creating visible temperature contrast. Keep in mind that weather conditions—sun, wind, and even humidity—can change how well a target performs. Always test your setup before a serious zeroing session.
Do you have your own creative idea for a DIY thermal scope target? Tell us in the comments below, and we’ll put it to the test in future videos!
???? Watch our full breakdown here: DIY Thermal Targets for Zeroing


 Thermal Monoculars
 Thermal Binoculars
 Thermal Rifle Scopes
 Thermal Clip-On Systems
 Thermal Accessories
 Digital Weapon Sights
 Digital Clip-On Systems
 Night Vision Monoculars
 Night Vision Binoculars
 Night Vision Goggles
 Night Vision Weapon Sights
 Night Vision Clip-On Systems
 AGM Image intensifier Tubes
 Night Vision Accessories
 Fusion Imaging Monoculars
 Fusion Imaging Binoculars
 Laser Systems
 IR Lights
 Helmets & Mounts
 Weapon Mounts
 Miscellaneous
 SKD Kits
 PVS 14 Spare Parts
 PVS 7 Spare Parts


